
Introduction
Last year Apple introduced Swift at WWDC 2014. Here at AiT we’ve started to adopt it as our main language for new iOS work. I’ve noticed that there is a lack of tutorials or instructions for using Swift for Pebble iOS companion apps so I thought I’d write a simple introduction.
Creating a project
First of all make sure you have the latest Xcode installed. At the time of writing this is Xcode 6.2.
- Start the Create a new Xcode project process
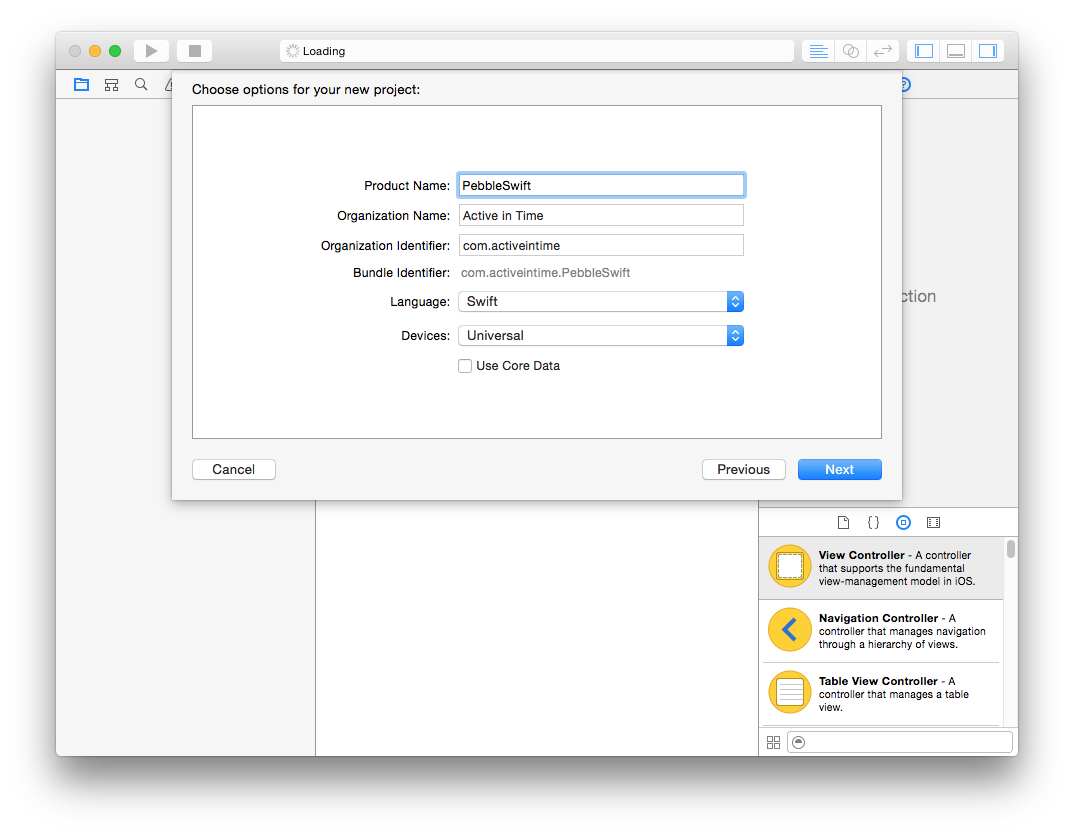
- You can choose any iOS project type. For this guide I’m using a Single View Application
- Give it a name and change the language to Swift
- Choose a location and you should have a new project to work with
Cocoapods
I prefer to use cocoapods for managing third party integrations. They’ve recently been working on full support for Swift and Pebble have published their SDK as a cocoapod.
First we need to make sure cocoapods is up to date
Note, if you’re using a Ruby manager such as RVM, drop the sudo from the next command.
- Open a terminal up
sudo gem install cocoapods- enter your password if prompted
pod —versionto confirm it installed correctly

Back in Xcode:
- Right click on your project root in the left hand bar
- Select New File
- Choose Other
- Then Empty
- Name the file Podfile, untick all of the targets at the bottom and make sure it saves to the root of the project
In your new Podfile add the following line:
pod 'PebbleKit'
We now need to install the pod:
- Close Xcode completely
- Open a terminal window and change directory to the root of your new project
pod install- Once that is finished open the project folder in Finder (quick tip:
open .will do this)
The Bridging Header
The pod should be installed but now we need to make it available in Swift. All Swift symbols within a target are automatically made available to each other, unfortunately this doesn’t include Objective-C symbols. To do this we need something called a Bridging Header
Here’s how to do it:
- Now open the file ending in .xcworkspace
- Again right click on the project root in the left hand bar
- Select New File
- Now Source
- Then Header File
- You can name this anything you like. The convention is normally [ProjectName]-Bridging.h
- Delete all the code below the comments and replace it with
#import "PebbleKit.h" - Now select the project root in the left hand side
- Make sure the main target is selected and go to Build Settings
- Scroll down to Swift Compiler - Code Generation
- Change the value of Objective-C Bridging Header to be the name of the bridging header you created earlier
- Build the project to make sure it compiles without errors

Creating a Pebble watchapp to connect to
Before we can connect to a watchapp, we need to create a quick demo one.
- Open a terminal window again and navigate to the root of the project
pebble new-project Swiftcat Swift/appinfo.jsonto view the app settings- Make a note of the uuid value. In my case it’s acde6706-633f-404d-b99a-1fc57842593a
Now build and deploy the watch app to your Pebble so that we’re able to make use of it later.

Setting up the connection
Now we can get our hands dirty with some Swift.
First open the AppDelegate.swift
Below var window: UIWindow? add:
 var watch: PBWatch? {
     didSet {
         if let watch = watch {
             watch.appMessagesLaunch({ (_, error) in
                 if error != nil {
                     println("App launched!")
                 }
             })
         }
     }
 }
This is a variable to keep a reference to the watch. When it’s set to a non-nil value it’ll attempt to launch the watch application on the Pebble.
Now in application(didFinishLaunchingWithOptions..), add the following few lines before the return statement (replacing the uuid with the one from your project):
 let pebble = PBPebbleCentral.defaultCentral()
 pebble.delegate = self

 var uuidBytes = Array<UInt8>(count:16, repeatedValue:0)
 let uuid = NSUUID(UUIDString: "acde6706-633f-404d-b99a-1fc57842593a")
 uuid?.getUUIDBytes(&uuidBytes)
 pebble.appUUID = NSData(bytes: &uuidBytes, length: uuidBytes.count)

 watch = pebble.lastConnectedWatch()
This previous bit of code is perhaps the bit which is hardest to figure out. In Objective-C land uuidBytes would be of type uuid_t that’s a typedef of __darwin_uuid_t which is in turn a typedef of an array of 16 unsigned chars. In Swift this translates to an array of unsigned 8bit integers. Fortunately arrays in Swift allow you to create pre-initialised arrays of a fixed size for exactly this kind of purpose.
At this point Xcode will be complaining about the AppDelegate not conforming to the PBPebbleCentralDelegate interface. At the bottom of the file add the following code to fix this:
extension AppDelegate: PBPebbleCentralDelegate {
     func pebbleCentral(central: PBPebbleCentral!, watchDidConnect watch: PBWatch!, isNew: Bool) {
         if self.watch != watch {
             self.watch = watch
         }
     }
 }
This implements the delegate interface and sets the watch property we declared earlier.
Finally, make sure the watch app isn’t running on the Pebble and then build and run the iOS app. You should find the watch app launches and you now have a working connection.
Conclusion
This is the bare bones of how to get started with Swift. In a future post I'll be demonstrating how to use Swift to interpret C structures sent via the DataLogging interface.
As always, please ask any questions via the comments or you can find me on Twitter as @earltedly.